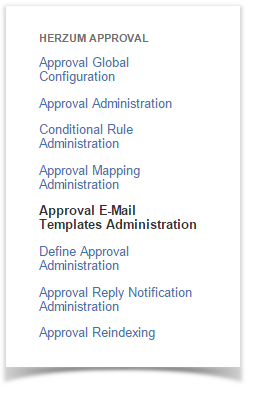
1 | Navigate to the Add-Ons Panel within your JIRA installation and Click on Approval E-Mail Templates Administration to manage e-mail templates. Administration → Add-Ons → Herzum Approval → Approval E-Mail Templates Administration |
Approval E-Mail Templates Administration panel |
| 2 | By default no e-mail template exists. Click on Add E-Mail Template to create a new template. Approval E-Mail Templates Administration → Add E-Mail Template |
Approval E-Mail Templates Administration screen |
| 3 | Select a Project to create a customized template for all the 'Approval Required' e-mail notifications related to the issues belonging to the specific project. |
E-Mail Template Configuration screen |
| 4 | Select the Condition to prioritize the email allowing to set email priority to High when the condition, evaluated on any single issue, returns true. If no condition is set, the emails priority is set to Normal. The Contition to prioritize the email can be managed via the Conditional Rule Administration screen. |
E-Mail Template Configuration screen |
| 5 | Select the fields, one at a time, and click Add Field. The listed information are always included in the custom email template: Project Key, Issue number, Summary, Issue Type, Created,Project, Workflow transition and Approve/Reject Instructions. The mentioned fields are displayed at the top of the email in addition to the selected ones. |
E-Mail Template Configuration screen |
| 6 | Reorder the fields by simply drag and drop them. The established order will be followed on the sent e-mails. |
E-Mail Template Configuration screen |
| 7 | Click back to Approval E-Mail Templates Administration to save the template configuration and return to the 'Approval E-Mail Templates Administration' screen. |
E-Mail Template Configuration screen |


By example, based on the E-mail template showed below on the left, the Approval required e-mail looks like as showed on the right.

E-mail template

Approval required e-mail