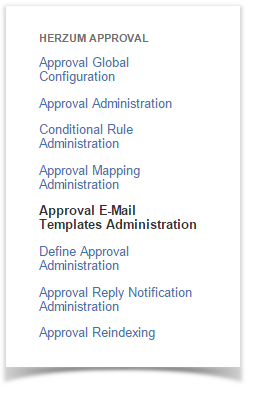
1 | Navigate to the Add-Ons Panel within your JIRA installation and Click on Approval E-Mail Templates Administration to manage e-mail templates. Administration → Add-Ons → Herzum Approval → Approval E-Mail Templates Administration |
Approval E-Mail Templates Administration panel | |
| 2 | By default no e-mail template exists. Click on Add E-Mail Template to create a new template. Approval E-Mail Templates Administration → Add E-Mail Template |
Approval E-Mail Templates Administration screen | |
| 3 | Select a Project to create a customized template for all the 'Approval Required' e-mail notifications related to the issues belonging to the specific project. |
E-Mail Template Configuration screen | |
| 4 | Select the Condition to prioritize the email allowing to set email priority to High when the condition, evaluated on any single issue, returns true.
|
E-Mail Template Configuration screen | |
| 5 | Select the fields, one at a time, and click Add Field.
|
E-Mail Template Configuration screen | |
| 6 | Reorder the fields by simply drag and drop them. The established order will be followed on the sent e-mails. |
E-Mail Template Configuration screen | |
| 7 | Click back to Approval E-Mail Templates Administration to save the template configuration and return to the 'Approval E-Mail Templates Administration' screen. |
E-Mail Template Configuration screen |
By example, based on the E-mail template showed below on the left, the Approval required e-mail looks like as showed on the right.

E-mail template

Approval required e-mail


