This document describes the use of the "Herzum Approval Plugin (HAP)".
Visit the installation guide for details on initial installation and configuration.
Plugin Overview
The Herzum Approval add-on is a powerful JIRA plugin that provides a simple and flexible way of managing and processing the approval of JIRA issues. Using a user-friendly configuration panel, an administrator can easily define approvals based on JIRA workflows or on project/issue type.
Features of the add-on are:
- A User friendly configuration panel
- Intuitive and easy way to see issue status and related approval status
- JQL functions to filter pending for approval issues, approved issues and rejected issues
- Approvals by Email
Approvals status for each transition (Progress Bar)
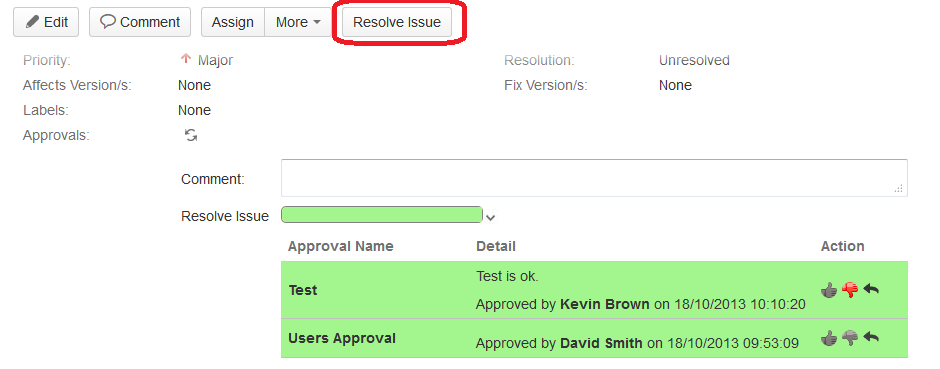
From an issue it is possible view all Approvals for each transition and their state detail clicking on down arrow.
At first the Approval section is hided, however you can see the approvals state: a progress bar show, in percentage, if the approvals are been approved (green) or are in pending status (yellow). If one Approval has been rejected the bar is red, because the transition can't be enabled.
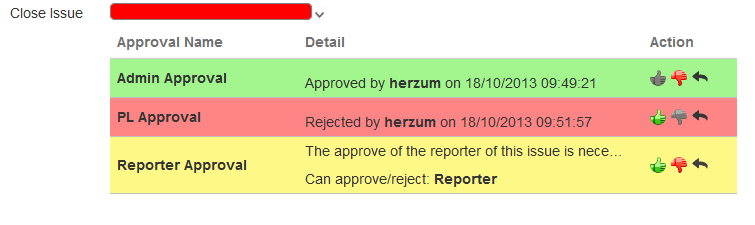
Note: In above screen shot "Close Issue" is red becasue an Approval is rejected, then transition can't be enabled. However user can approve in a next moment.
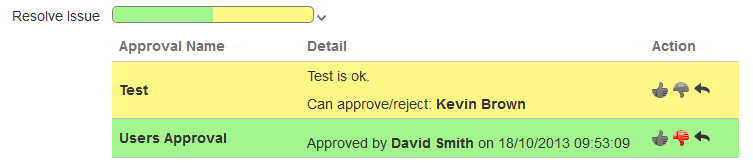
When bar is green corresponding transition is enabled, as in following screen shot:
Approvals Detail
In Approvals Detail tab the fields display are:
- Approval Name: Name of the approval.
- Detail: It contains the approval description and other details: if Approval isn't confirmed, are displayed who can approve it (Groups, Roles,Users, Reporer, Assignee or Project Lead), else it is diplayed the user that have approved it and the date of approvation.
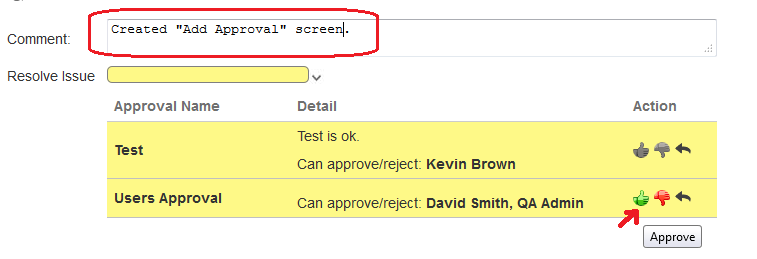
- Action: If user can manage the approval all action buttons will be enabled, else will be disabled. The actions are the following:
 (Approve): To approve the approval.
 (Reject): To reject the approval.
 (Cancel): To cancel the last action done and return to pending status.

It is possible view Approval status making reference to the colors of the lines:
- Red: Approval has been rejected.
- Yellow: Approval is in pending status
- Green: Approval has been approved.

Approve, Reject or Cancel Actions
An authorized user can manage an Approval clicking on Action buttons.
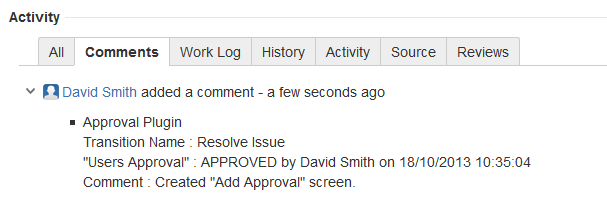
When the user wants to manage the approval, he can add a comment in the text area, before clicking on the button; the comment and the action description will be added to Comments section.
In the following screen shot are shown the comment added automatically in Comments section.
Note:
- When approval is in Approved status, user can reject or cancel and return in Pending status.
- When approval is in Rejected status, user can approve or cancel and return in Pending status.
- When approval is in Pending status, user can approve or reject.
JQL Functions
A user can search tickets into the Issue Navigator based on their approval status.
The plugin provides two JQL functions to filter on Tickets:
- pendingForApproval(): to filter all issues with, at least, an Approval in Pending status.
- approvedForApprovalStatus(): to filter all issues with all Approval in Approved status.
- rejectedForApprovalStatus(): to filter all issues with all Approval in Rejectd status.
How to use JQL Functions
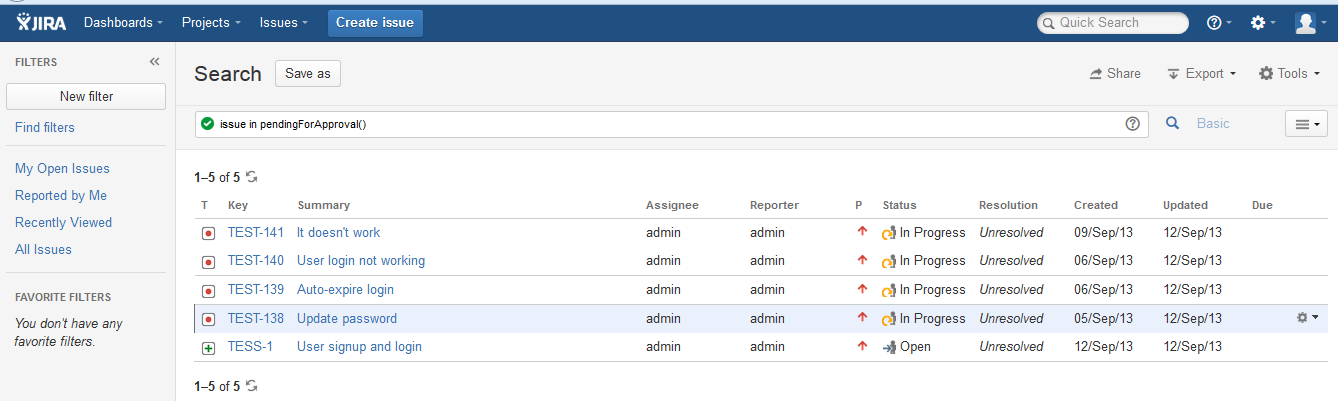
- From the JIRA header, click "Issues" > "Search for Issues".
- Click "Advanced" to switch the form to advance search mode using JQL.
- Enter the following in the search field: "issue in pendingForApproval()" or "issue in approvedForApprovalStatus()" or "issue in rejectedForApprovalStatus()".
- Click the search icon to run the search. The list of issues appears.
Note: These JQL Functions can be combined with other functions.
Notifications
The plugin manage the following notifications via email:
- To Assignee and To User that has clicked action button: for each action made.
When a user click on action button (Approve, Reject, Cancel) an email, with issue and action details, is sent to assignee. - To Approvers: when user click on transition button with "Requested for Approval".

After user has clicked the button, a message notify that the approvers have been notified with an email.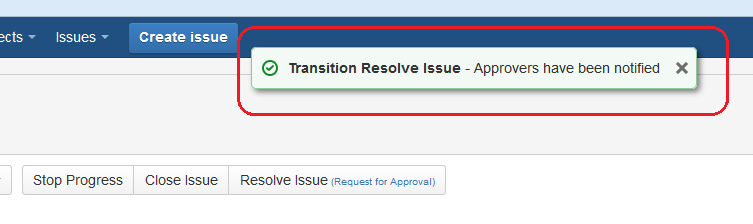
When all approvals are been approved the transition button with "Requested for Approval" is replaced with JIRA transition button and the transition can be execute.
Approvals via Email
If you want, you can setup approvals by email just defining the "Approval Mail Handler" for the related mail queue.
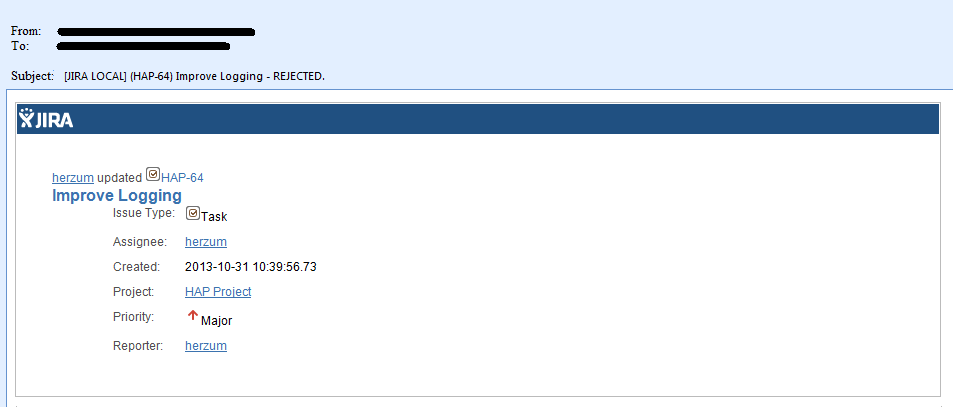
- Approvers will be notified by an email, with issue detail, and with the transition for which the approval is required.
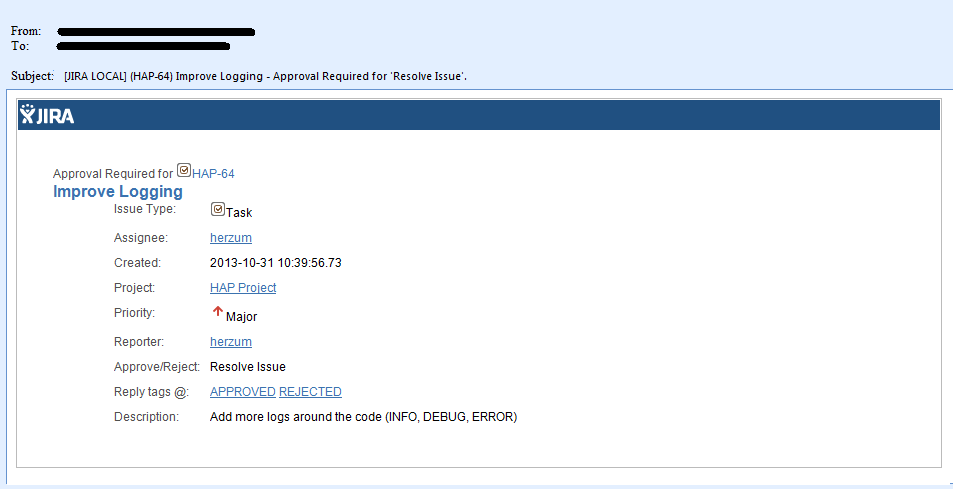
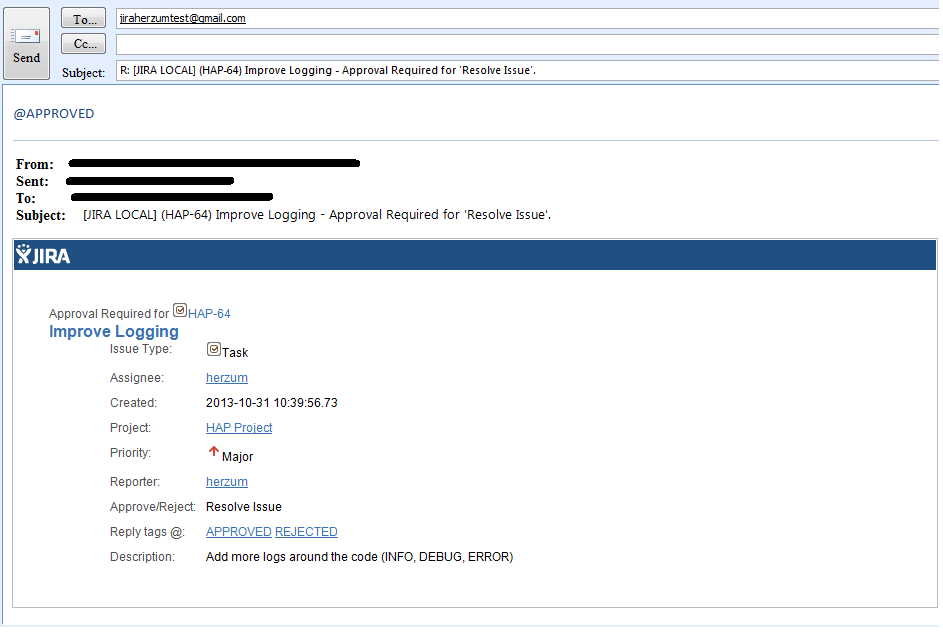
2. The approver can APPROVE/REJECT just replying to the received email.
Add:
@APPROVED : to approve the related issue
@REJECTED : to reject the related issue
Moreover what you add after the previous tag will be considered as approval/rejection comment
3. Assignee and User that has clicked action button will be notified by an email for each action made.