| Table of Contents |
|---|
| Warning |
|---|
Take care to to configure Incoming Mail handler to allow approval via email. The Incoming Mail handler need to be newly configured for each new add-on installation. |
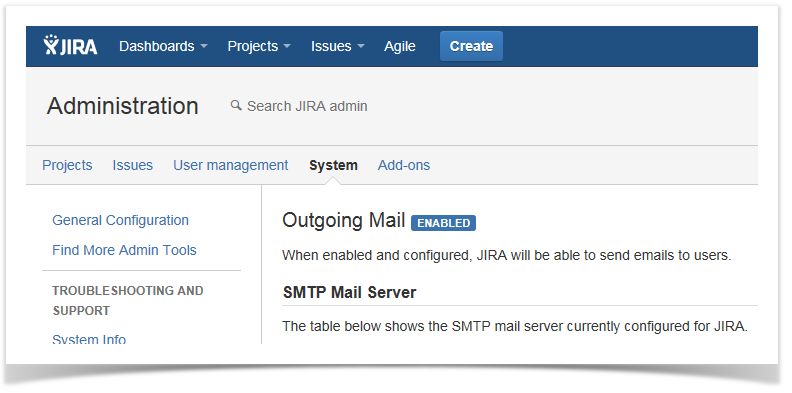
Outgoing mail settings
Ensure that the SMTP mail server has been correctly configured and the "Outgoing Mail" is enabled.
Incoming mail settings
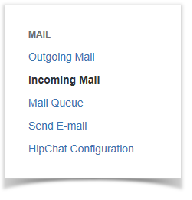
| 1 | Go to the Mail administration panel. JIRA Administration -> System -> Mail -> Incoming Mail |
Mail administration panel |
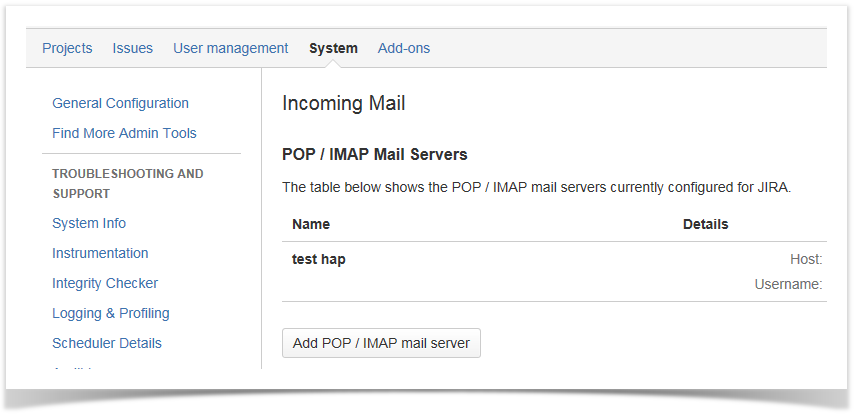
| 2 | Setup the "POP/IMAP Mail Servers" that has to manage incoming mail queue if not already configured, |
POP/IMAP Mail Servers administration panel |
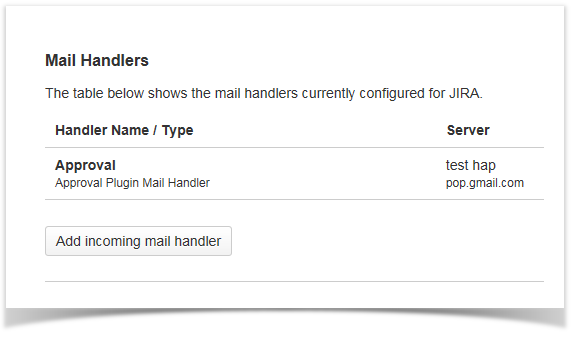
| 3 | Setup a new "Mail handler" by clicking on the "Add incoming mail handler" button. |
Incoming Mail Handler administration panel |
| 4 | Digit the mail handler name, select the configured POP / IMAP server and choose "Approval Mail Handler" as Handler Type and click Next. | Incoming Mail Handler configuration screen |
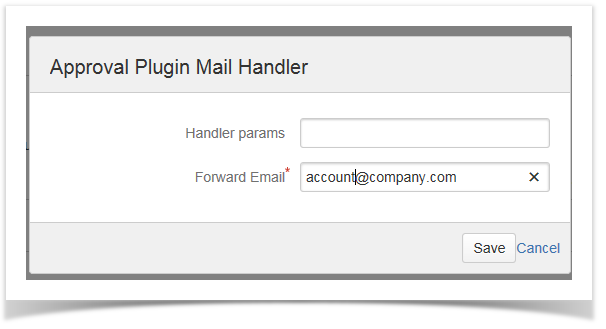
| 5 | Digit the forward email and save. |
Incoming Mail Handler configuration screen |
| 6 |
Incoming email has been successfully set. |
Outgoing Mail administration panel