How to approve, reject, abstain, comment an approval request via e-mail
Overview
Users can express their approval decision via email, without logging into Jira.
Depending by the applied setting on the E-mail Template Configuration screen, users can express their approval decision via buttons displayed on the Approval Request email or replying to the email and writing in the body opportune tags allowing the app to process the response opportunely.
Approve/Reject/Abstain/Reset/ Comment via email using the Approval tags
As an approver you will receive an e-mail notifying an approval request:
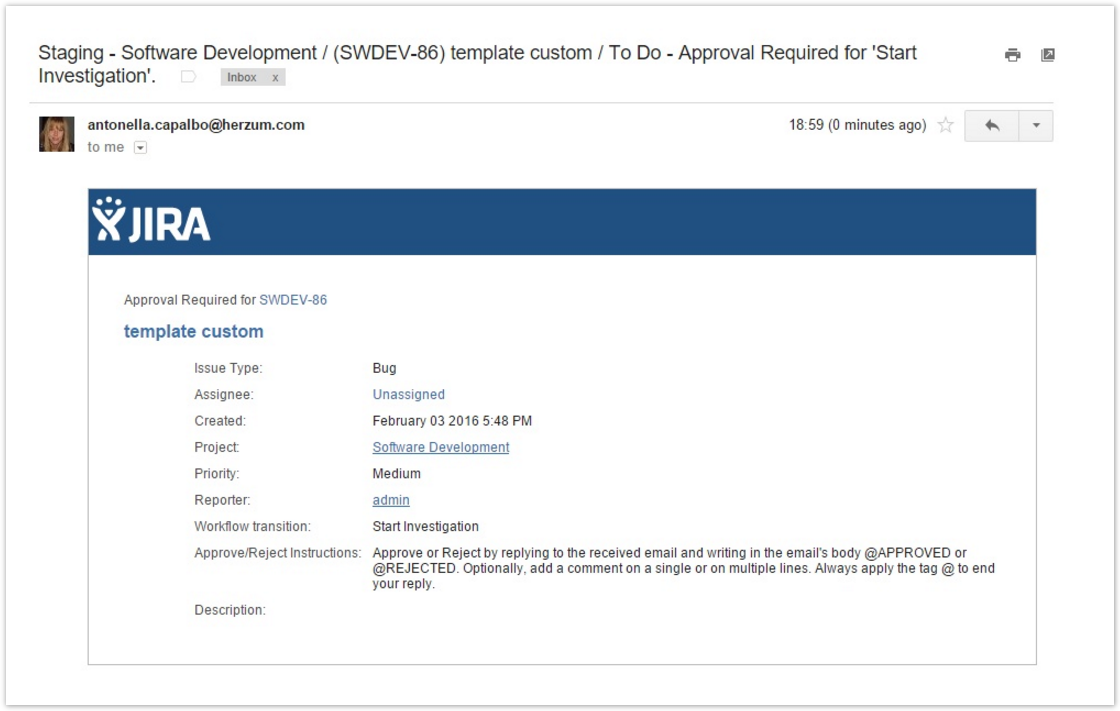
You can APPROVE/REJECT/ABSTAIN/RESET replying to the received email by adding the following tags:
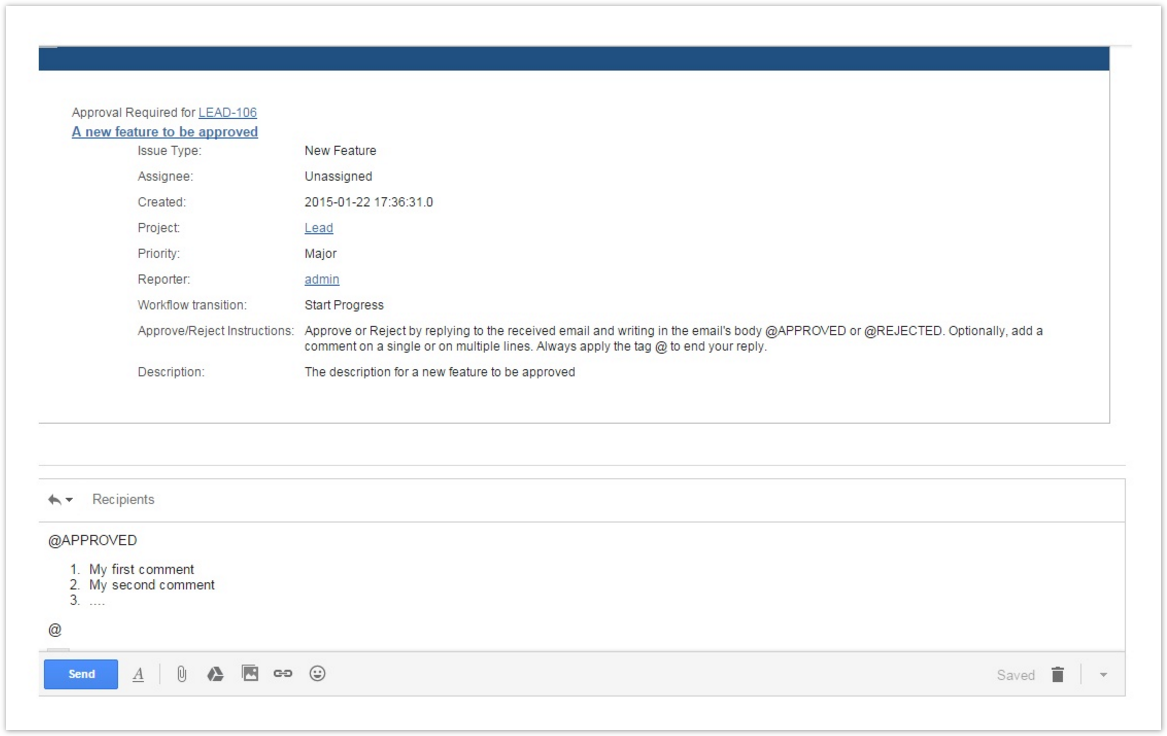
- @APPROVED optional text@
- @REJECTED optional text@
- @ABSTAINED optional text@
- @PENDING optional text@
The optional text is considered as an approval comment.
Furthermore, you are able to reply to the email without triggering any approval change status as follows:
- @COMMENT text@
The text is considered as an approval comment.
The following screenshot illustrates:
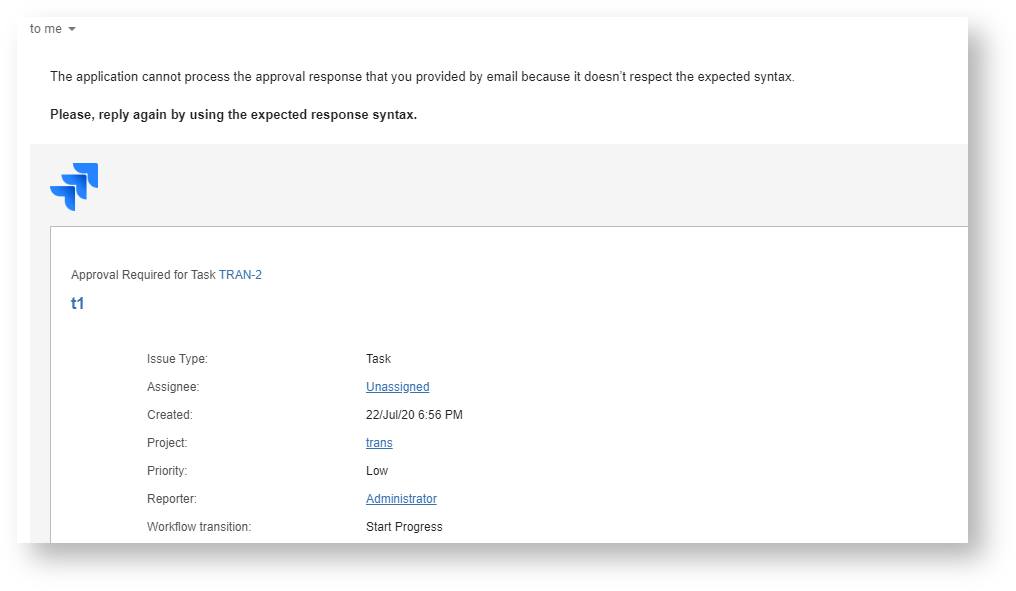
![]() If the approver reply to the email by using an invalid syntax, a new email message advises so that it will be possible to reply again to the original message or the received one.
If the approver reply to the email by using an invalid syntax, a new email message advises so that it will be possible to reply again to the original message or the received one.
![]() As a Jira administrator, you must be aware that a check avoid to send this email when the From E-mail address matches the Recipient E-mail address. This check avoids possible loops consisting in re-sending multiple emails reporting Invalid syntax'.
As a Jira administrator, you must be aware that a check avoid to send this email when the From E-mail address matches the Recipient E-mail address. This check avoids possible loops consisting in re-sending multiple emails reporting Invalid syntax'.
The following screenshot shows a message by example that advises for an email reply that doesn't not respect the expected syntax:
| Anchor | ||||
|---|---|---|---|---|
|
As an approver you will receive an e-mail notifying an approval request:
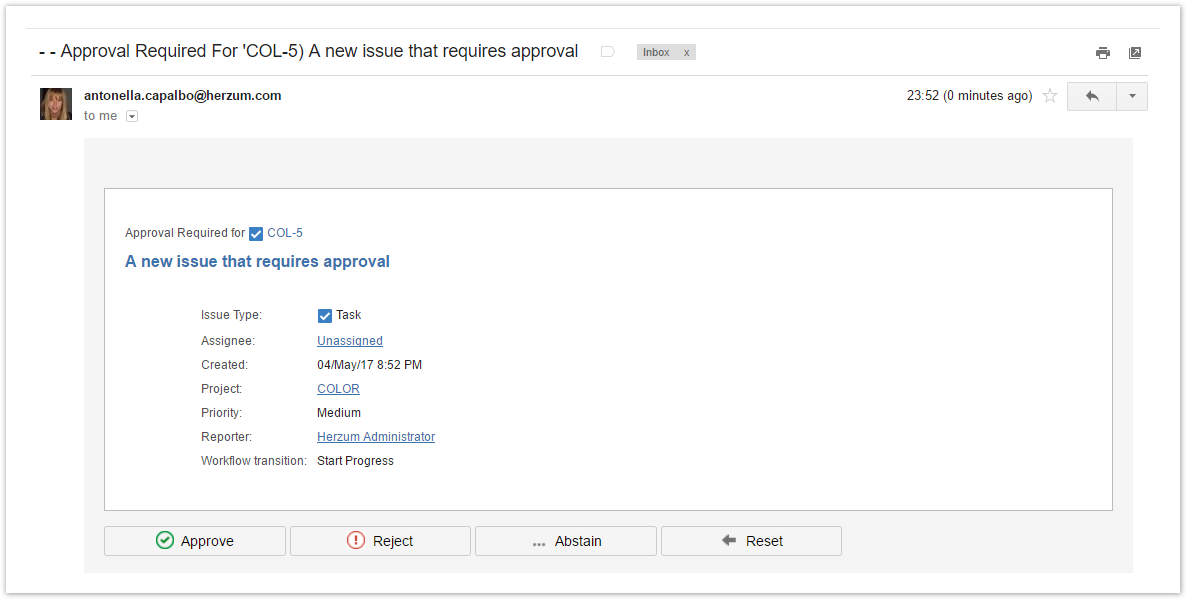
You can express the approval decision just clicking on the Approve, Reject, Abstain or Reset buttons.
On click, a screen appears allowing to add an approval comment.
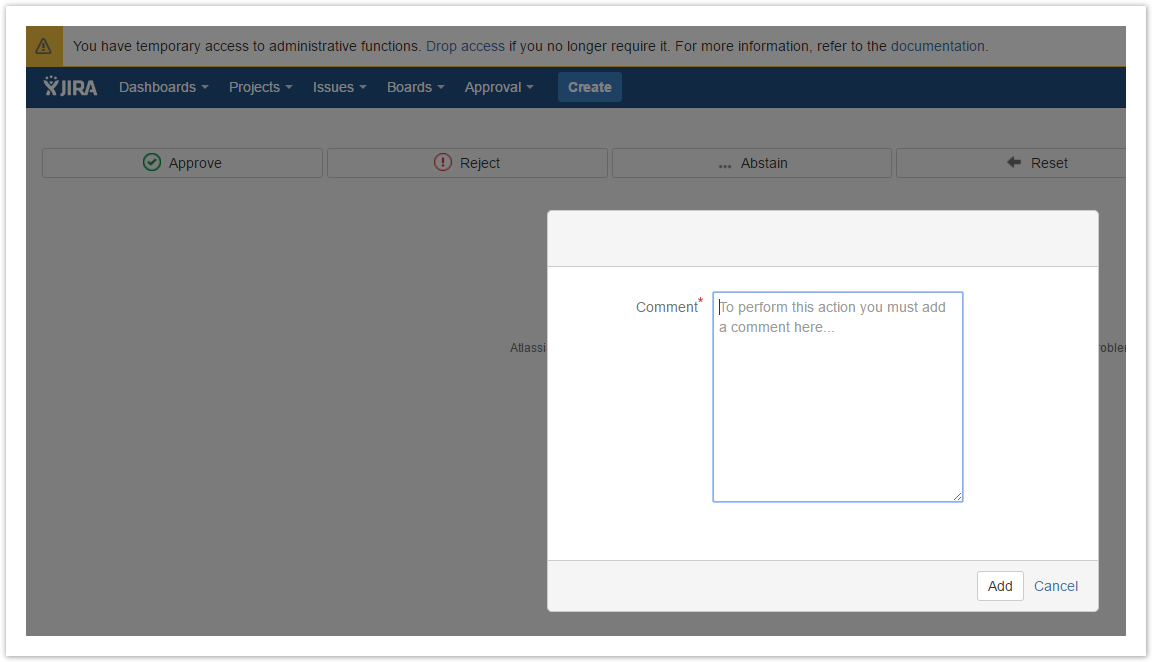
| Info |
|---|
The Approvals Comment field allows unlimited text length. Notice that Jira v. 7 limits the max allowed text length for Jira Comments to 32767. |
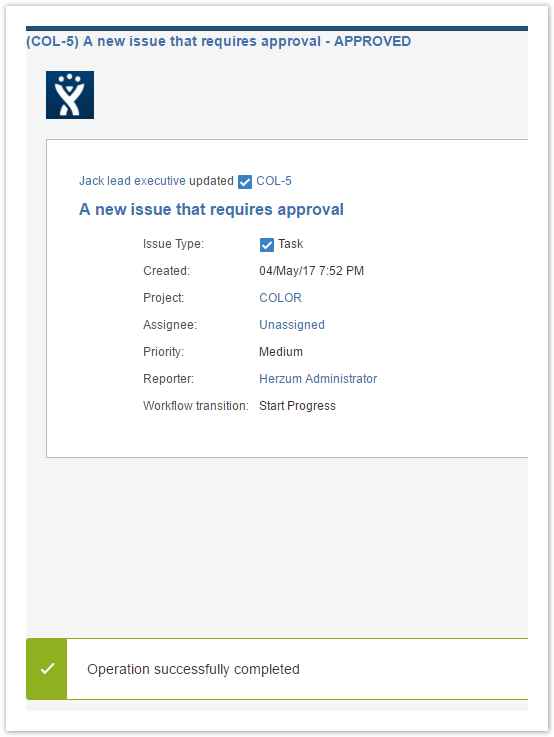
Finally, a message confirms that the operation completed successfully.
How to to approve or reject via comments on the issue view screen
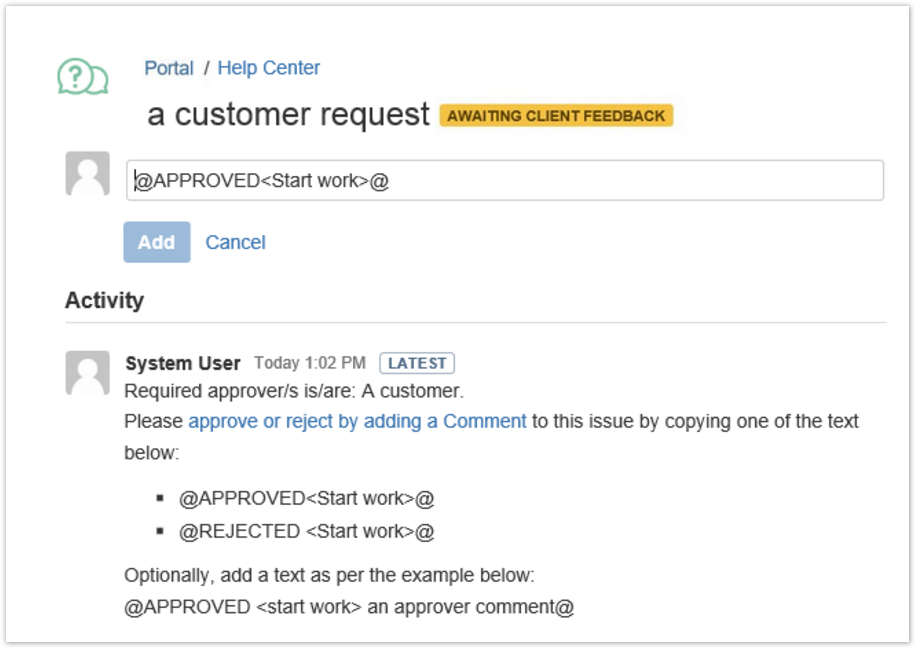
This feature let you able to approve or reject an approval request via the Jira Service Desk Customer Portal.
Prerequisites
As an approver you will display an approval request in the Activity log on Jira Service Desk Customer Portal.
Approve/Reject via comments
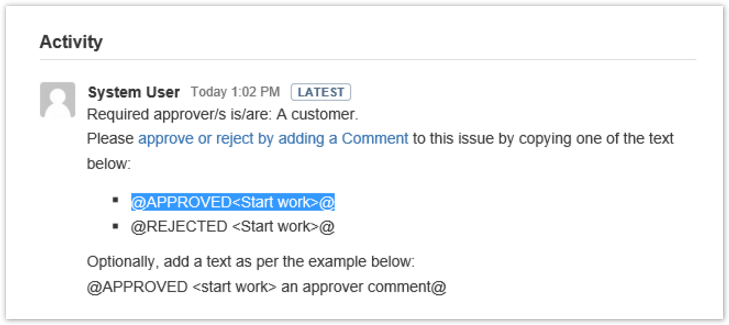
As an approver you can APPROVE/REJECT just adding a comment including one of the following tags:
- @APPROVED<Workflow transition>
- @REJECTED<Workflow transition>
- @ABSTAINED<Workflow transition>
- @PENDING<Workflow transition>
Moreover what you add after the previous tag is considered as an approval comment.
It's required that you always apply the tag @ at the end.
The following screenshot illustrates:

Click Add to perform the approval action.
Refresh the issue in order to review the comment (automatically created by the app) confirming the approval action has been successfully performed.

| Info | ||
|---|---|---|
| ||
|